Carpal Tunnel Decompression is a nice simple short case that can form the bases of the clinical station or technical skill station in the interview. It opens options for discussed about clinical symptoms & signs, the anatomy of the carpal tunnel, origins and insertions of the flexor retinaculum, contents of the carpal tunnel and anatomy of the median nerve.
The new page in the technical skills section gives you a guide to everything you need to know and everything you need to do to perform a carpal tunnel decompression.
Everything You Need to Know
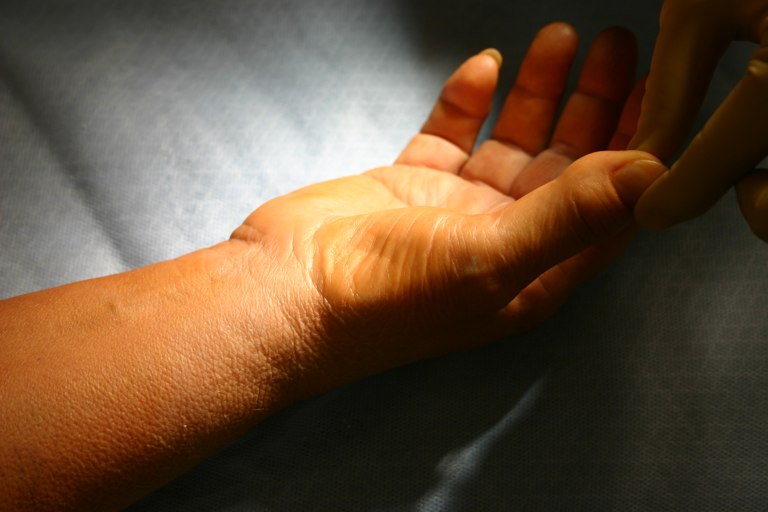
Clinical Signs of Carpal Tunnel Syndrome http://www.flickr.com/photos/handarmdoc
A guide to the operative technique to release the flexor retinaculum / transverse carpal ligament, thus ‘decompressing’ the carpal tunnel and as such releasing any pressure on the median nerve.
Boundaries:
- Roof – flexor retinaculum
- Radial border – scaphoid tubercle and ridge of the trapezium (radial insertion of flexor retinaculum)
- Ulnar border – pisiform and hook of hamate (ulnar insertion of FR)
- Floor – carpal bones
Content
- 4 x Flexor Digitorum Profundus tendons
- 4 x Flexor Digitorum Superficialis Tendons
- 1 x Median Nerve
- Flexor Pollicis Longus
Kaplans Cardinal Line
Line extended from the interdigital fold between the abducted thumb and index fingers to the hook of the hamate
Everything you need to do:
See and asses the patient per-operatively. Check the case notes, the consent, and examine the patient to ensure the symptoms are appropriate for carpal tunnel decompression (severe carpal tunnel syndrome refractory to conservative measures or severe symptoms with nerve conduction studies demonstrating severe compression).
Pre Op
- Patients consent gained, and marked.
- No need for antibiotic prophylaxis
- WHO safer surgery checklist
Set Up
- Supine with arm board
- Tourniquet (below elbow if LA) inflated to 50mmHg above systolic BP (no higher than 250mmHg)
- Elevate to exsanguinate.
- Inflate after who check just before incision.
Landmarks for incision
- Kaplans cardinal line
- Line extended from the interdigital fold tween the abducted thumb and index fingers the hook of the hamate
- Mark a line of the radial border of the index finger to wrist
- Procedure
- Local anaesthetic: 10mls of 1% lignocaine with adrenaline infiltrated in line with incision (GA if re-do decompression or patient factors)
- Prep and drape to forearm
- Incise from wrist crease to kaplans line (not beyond as superficial palmar arch)
- Ragnals retractor / cats paw to retract fat
- Keep ulnar to avoid cutaneous nerves
- Incise through palmar fascia
- Incise through transverse carpal ligament (feels grizzly / gritty)
- Take care as medial nerve directly below

Decompressed carpal tunnel. Median nerve at base, flexor retinaculum split to either side
https://www.flickr.com/photos/handarmdoc
- Distal decompression complete when fully released, often a small amount of fat is seen at the distal extent, the superficial palmar arch is just beyond this so take care!
- Lift proximal skin with ragnals retractor & use scissors or blade to release proximally until fully decompressed
- Close with 4-0 or 5-0 nylonRelease tourniquet
- Dressing, wool & crepe
- WHO sign out checklist
Post op
- Elevate
- Mobilise hand
- Home
- Reduce bulky bandage 72hrs
- Removal of sutures 10 days
- No need for hospital follow up
Images: https://www.flickr.com/photos/handarmdoc